
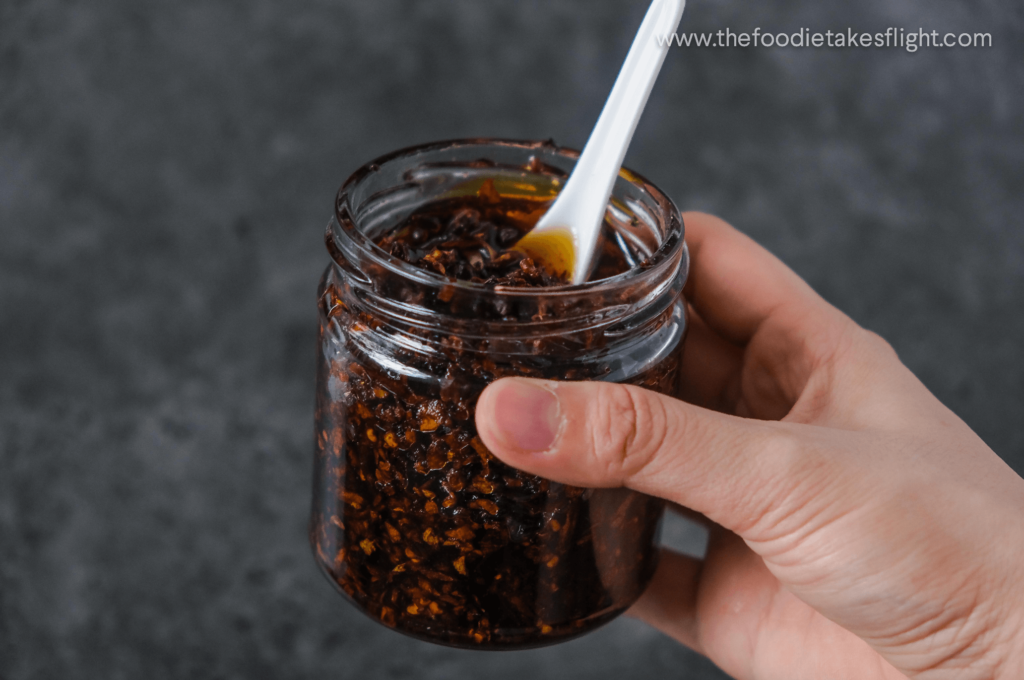
This is a pantry staple in my kitchen. It's a chili garlic sauce or chili garlic in oil that's really fragrant and aromatic. It's packed full of flavour and can give that delicious kick of spice and extra depth of flavour to a dish.

THIS CHILI GARLIC SAUCE IS:
- A Filipino-Chinese version of chili oil (it's actually very similar to chili garlic crisp or chili oil)
- Very versatile
- Shelf stable--lasts months in my kitchen/pantry!
- Easily customisable--you can opt to add in lots of spices and even opt to cook down the chiles & garlic shorter/longer depending on how crisp you want them to turn out
- Perfect to use in sauces and stir-fries!
OTHER VARIANT: GARLIC CHILI OIL!
This version is an easier version that just requires you heating oil and pouring it over the chiles and garlic! You can check out this garlic chili oil recipe here.

CHILES AND GARLIC
I use a mix of chiles and garlic to this along with some herbs and aromatics, which are optional but give that added flavour.
Can I use dried chiles? I haven't tried this exact recipe with dried chiles but I have used dried chiles to make an easy chili oil and the flavour isn't as strong compared to using fresh chiles of course. Though if you're using dried chiles, I recommend to process these as well and just cook down with the garlic.
AROMATICS
The aromatics I used a mix of Chinese 5 spice powder, bay leaves, Szechuan peppercorns, and star anise.

A jar lasts really long in room temperature and in my opinion, gets even better over time!

PREPARING THE INGREDIENTS FOR THE SAUCE
I basically process the chiles and garlic before heating up a pan and adding in the oil.
IMPORTANT: Be careful not to hold the chiles with your hands! If you accidentally do, don't scratch your face (especially your eyes!) since these can be really hot.

COOKING THE SAUCE
Heat a medium-sized pan or pot with the oil. Heat the oil over medium heat.
I then add in the sugar, salt, and aromatics to cook those down to dissolve.

Afterwards, I add in the processed chili and garlic. Lower the heat to prevent the chiles from burning.

From there, I cook the chiles and garlic down over low to medium low heat. Keep an eye out to make sure these don't burn.
They'll turn from a bright red and yellow colour to a dark red-ish/brown colour. The garlic and chilies will have released all their flavours into the oil and turn slightly crisp.

WHAT TO CONSIDER: HOW CRISP YOU WANT THE CHILES AND GARLIC IN YOUR SAUCE TO GET
It's also up to you how crisp you want your garlic and chiles to be. If you want these less crisp, you can opt to stop cooking these earlier on when the chiles are still a bright red.
I personally prefer these crisp so I cook them down until these turn into a dark red-ish/brown colour.
STORING THE SAUCE
Make sure the sauce is completely cooled before you store it.

Transfer the sauce into an air-tight jar or bottle to store in your pantry for future use. If the sediments (chiles and garlic) aren't completely submerged in oil when you store it in a jar, you can opt to add more neutral oil to the jar to submerge the sediments. This is optional but recommended.
HOW TO ENJOY YOUR SAUCE
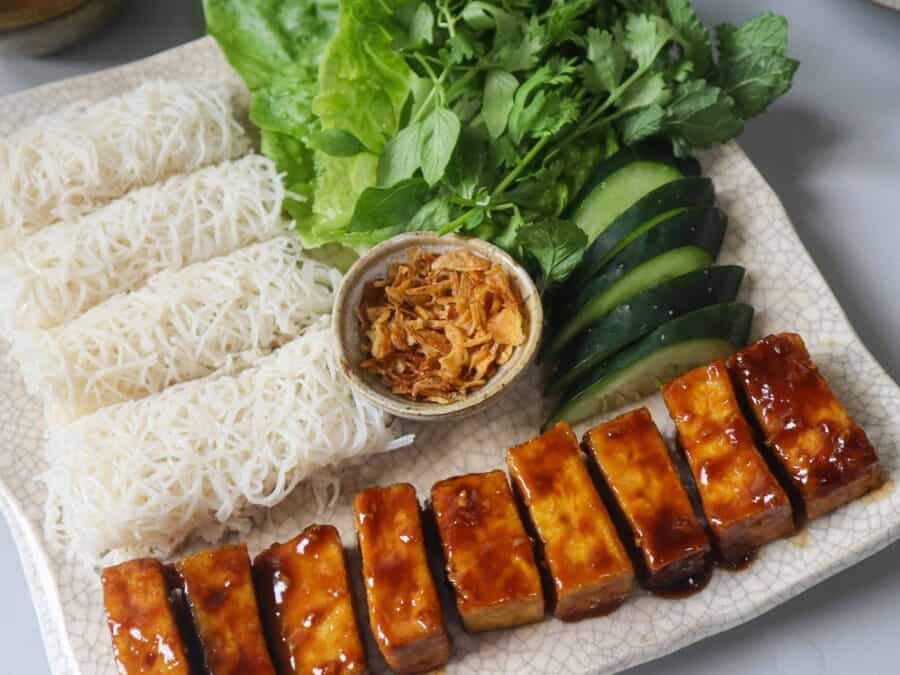
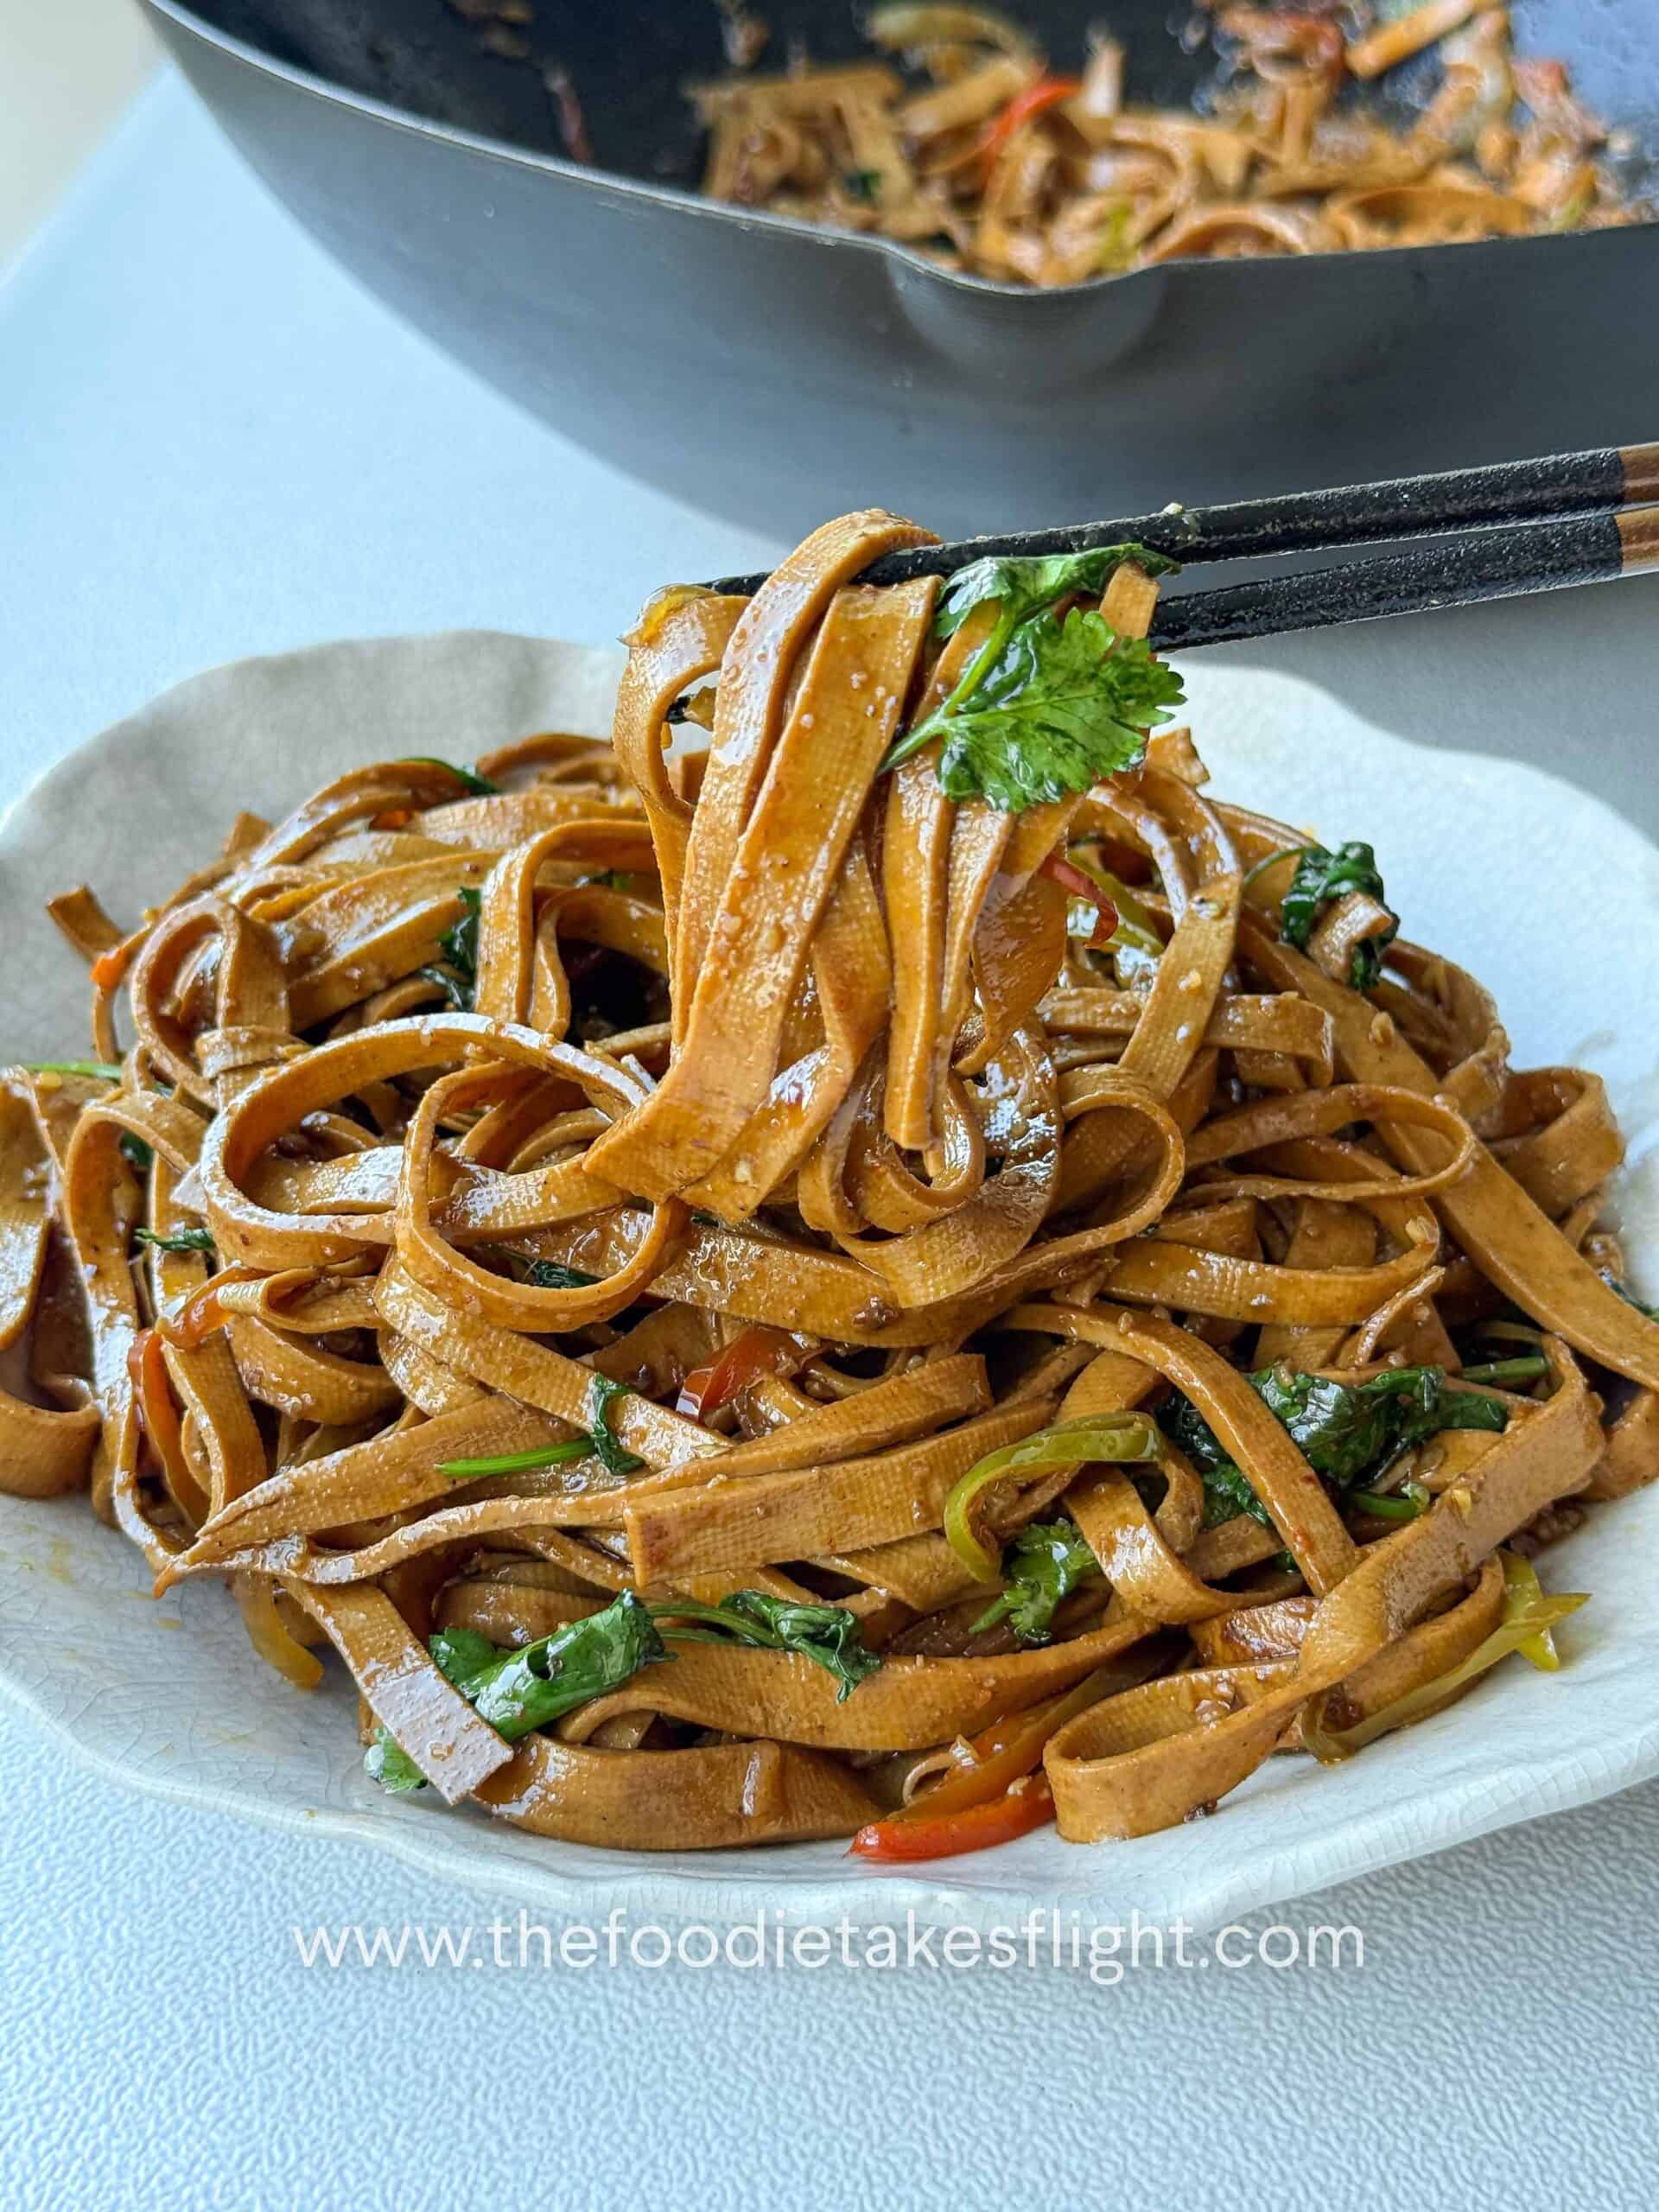
I've mixed this into noodles, dipping sauces, stir-fries, and so much more. It lasts a good few months in room temperature, and even gets better in terms of flavour as it sits in the same oil. You can use the fragrant oil or mix it in with the chili garlic sediments sitting at the bottom.
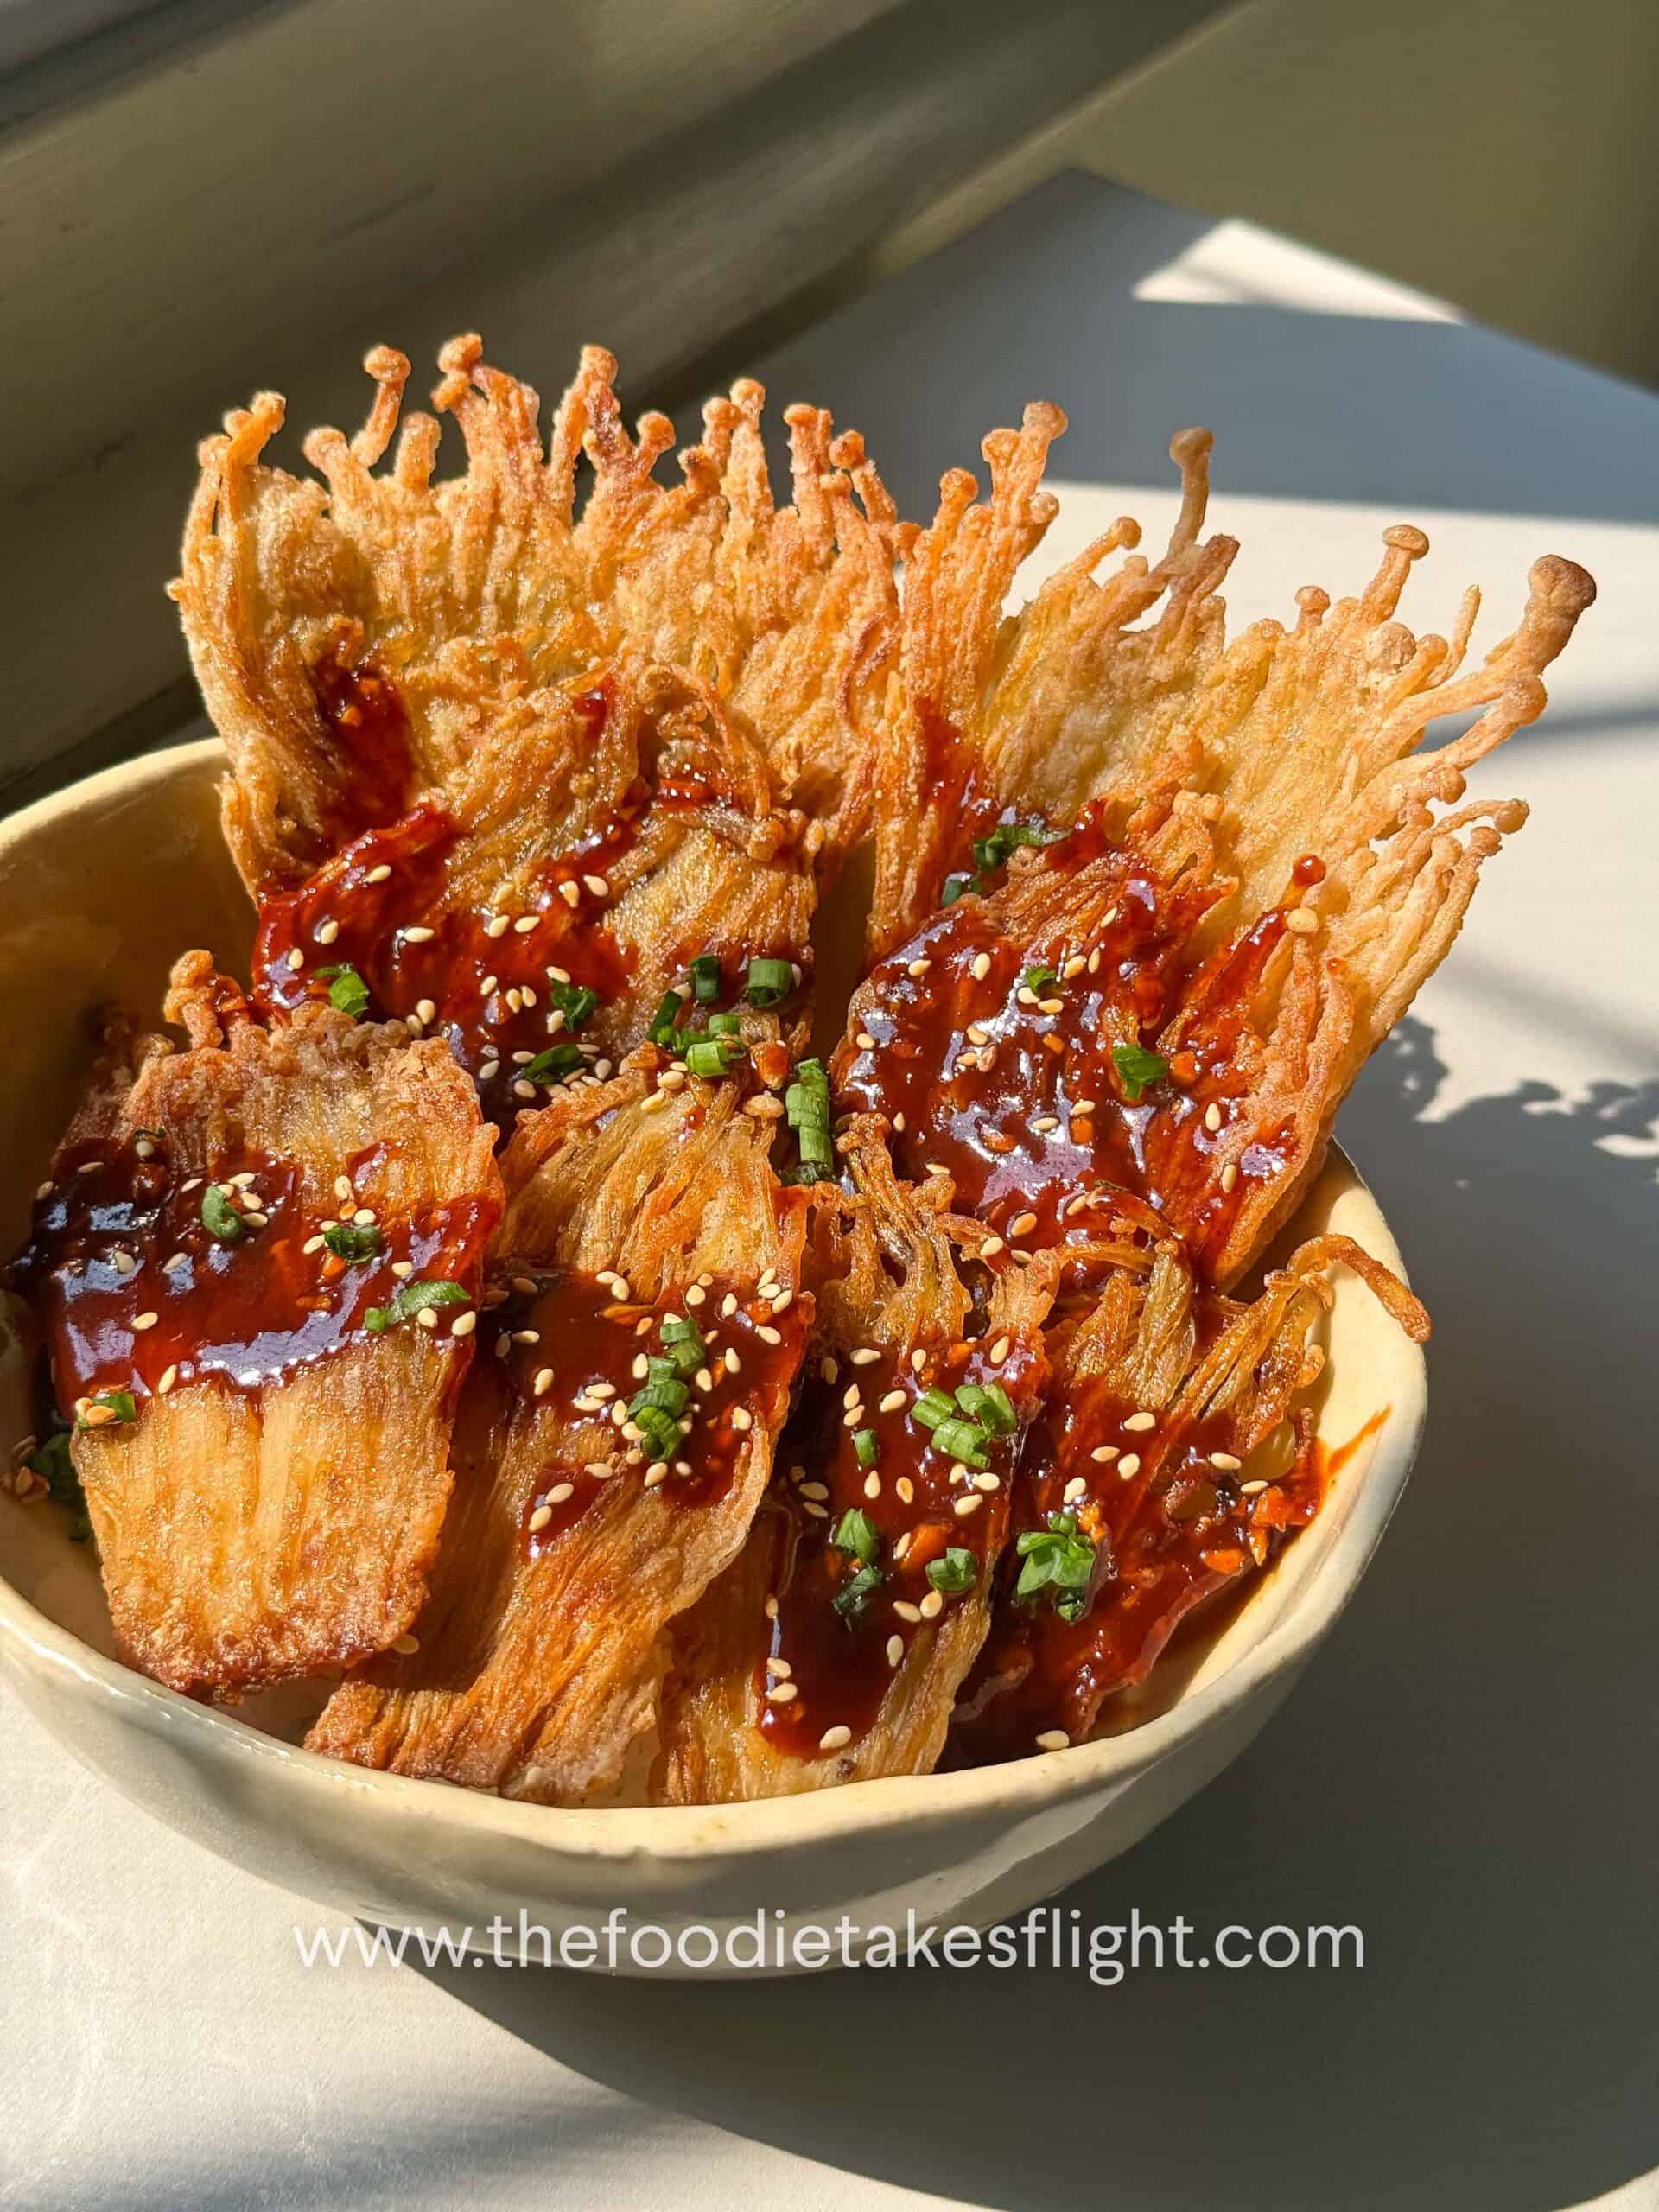
Check out these recipes where I use this Chili Garlic Sauce!


If you're a big fan of all things fragrant and spicy, then this one's for you! Enjoy! :)

Chili Garlic Sauce (or Chili Garlic in Oil)
Ingredients
- 50 g bird’s eye chili, Thai chiles, or siling labuyo , around 28 to 30 pieces
- 12 cloves garlic peeled (or moe if you want more garlic!)
- 3/4 cup neutral oil like canola, sunflower, avocado, etc.
- 1/2 tsp salt
- 1 tsp sugar
- 1/4 tsp chinese five spice powder (see notes)
- 1-2 pieces dried bay leaf
- 1 dried star anise optional but highly recommended
- 1 tsp Szechuan peppercorns optional but highly recommended
Instructions
- Chop off the top ends and stem of the chiles. I use a pair of scissors for these and only hold the body of the chiles.Place the chilies and garlic cloves in a food processor. Process until finely minced.IMPORTANT: Be careful not to use your hands when handling processed chiles since it can burn your face (and eyes!) when you accidentally rub them. You can use gloves for an extra layer of protection.

- Heat a medium saucepan over low to medium heat. Add in the neutral oil. When the oil is hot, add in the salt, sugar, and five spice powder. Add in the rest of the herbs and spices, if using.

- Carefully add in the garlic and chiles. If these immediately sizzle in the hot oil, lower the heat to preven these from quickly burning.Leave everything to cook over medium low heat. Keep stirring to make sure the sugar dissolves and the chiles and garlic don't burn. Stir the mixture every 1 to 2 minutes.

- Continue to cook the chiles and garlic until they have turned in a much darker share of red and garlic is lightly brown, around 10 to 15 minutes. Be careful not to cook it over too high heat since the garlic can quickly burn.If you'd like crispy garlic, you can cook the garlic and chiles a bit longer until these turn crisp but keep an eye out since they can quickly burn.

- Turn off the heat and then leave the sauce to cool completely before storing in a jar.Not enough oil? If the sediments (chiles and garlic) aren't completely submerged in oil when you store it in a jar, you can opt to add more neutral oil to the jar to submerge the sediments. This is optional but recommended.Enjoy with your favourite recipes!


Storage and Tips
- Not enough oil? If the sediments (chiles and garlic) aren't completely submerged in oil when you store it in a jar, you can opt to add more neutral oil to the jar to submerge the sediments. This is optional but recommended.
- Store the sauce in an air-tight container or jar in a cool, dark place until ready to use. Can be stored for 3-6 months or even longer!

- If the chiles ans garlic in your sauce aren't completely submerged in the oil, you can add more neutral oil into your jar to completely submerge them.

WATCH Video
Notes
CHINESE 5 SPICE POWDER
- If you don't have Chinese 5 spice powder, you can just add a pinch both of cinnamon powder and some white pepper.
CHILES
Can I use dried chiles? I haven't tried this exact recipe with dried chiles but I have used dried chiles to make an easy chili oil and the flavour isn't as strong compared to using fresh chiles of course. Though if you're using dried chiles, I recommend to process these as well and just cook down with the garlic.Not enough oil?
If the sediments (chiles and garlic) aren't completely submerged in oil when you store it in a jar, you can opt to add more neutral oil to the jar to submerge the sediments. This is optional but recommended.NUTRITIONAL INFO
Pin this Image on Pinterest:

Can I opt out for the sugar? Thank you!
Yes no problem. 🙂
Hi! Is there a substitute to the Chinese Five Spice powder?
Hi! You can opt to leave it out or add a pinch of white pepper + cinnamon powder 🙂
Thank you so much!! ?
I can’t wait to try this recipe! Is it possible to add sesame seeds? At what stage do I add them? Toasted or untoasted? Thanks!!
Hi Christian! Yes you can! I recommend toasted sesame seeds. If you have these toasted already (i love to do so on a pan), you can add them along with the chiles and slowly cook them down so the flavours infuse in the oil too. Hope this helps!
Hi 🙂
Do I leave the leafs and the star anis in when I put it in a jar?
Huge compliments on your page! Really love your recipes. I am looking forward to buying your book in Germany!
Hi Nina, You can leave them or remove them! I like to leave them so the flavours can continue to soak in the oil as it sits. But removing them is okay too. ◡̈
It was easy to make. I used about 30 chili padi instead but it wasn’t too spicy. Will try with more chili padi next time. It was also super crunchy. (Yums) Using the 680g pasta sauce container, it filled about 1/3.
Thanks Rinnie ◡̈ enjoy!!