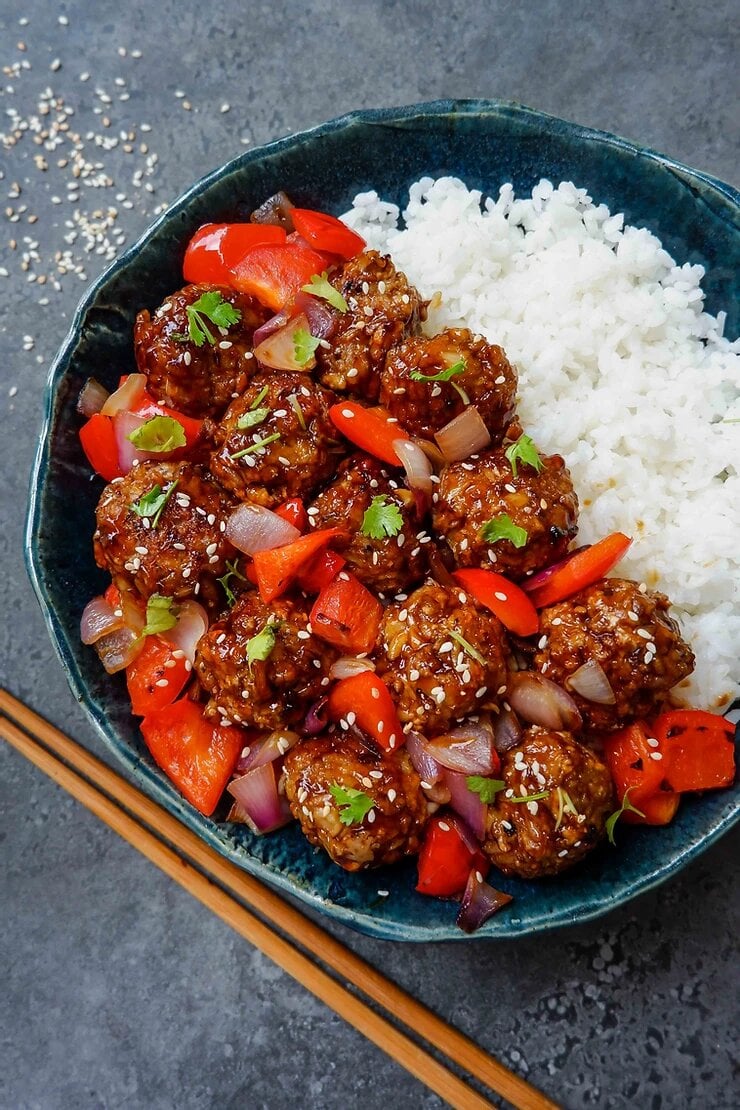
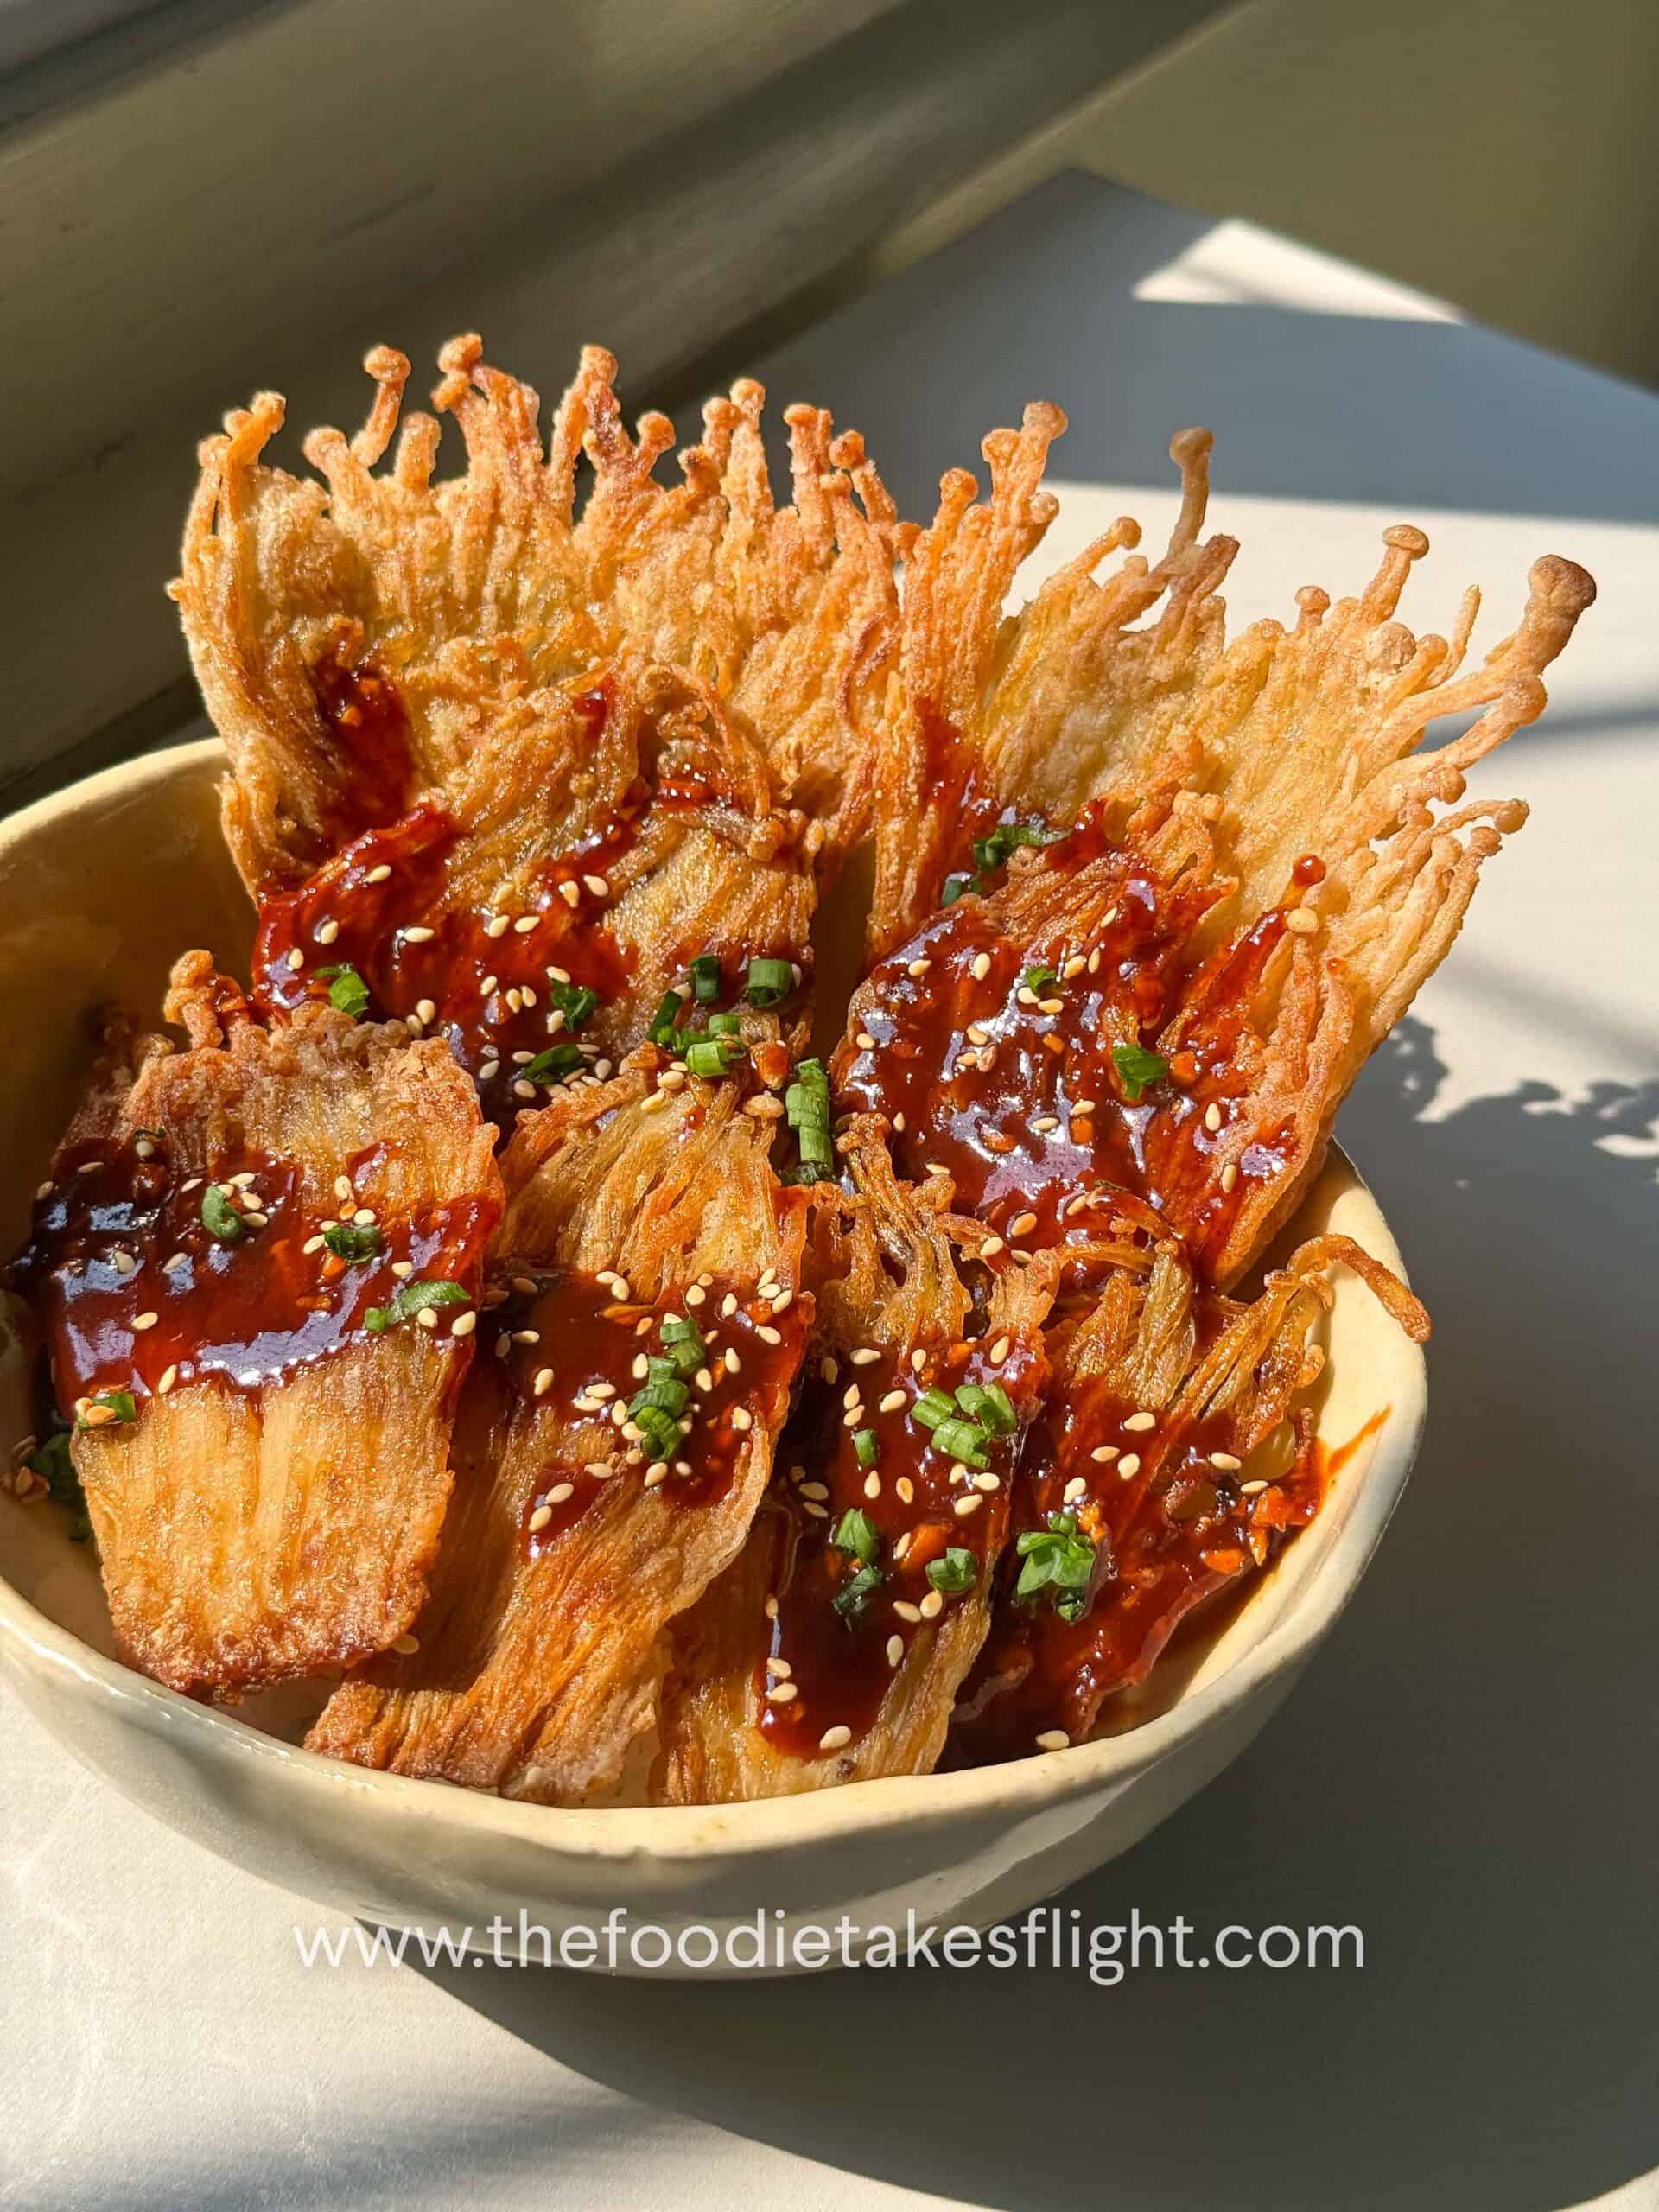
Anyone up for a bowl of these Baked Teriyaki Cauliflower Balls with rice?

MAKING THE CAULIFLOWER BALLS
I made these from scratch using (of course) cauliflower before baking them and then coating the balls in homemade teriyaki sauce!

I shaped mine into balls (of course) but you can really shape these however way you want.

HOW TO COOK YOUR CAULIFLOWER TERIYAKI BALLS:
OPTION 1: BY BAKING
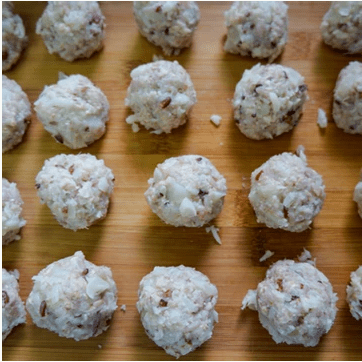
I laid out my balls over my baking tray lined with parchment paper. This is great for an oil-free version.


OPTION 2: PAN-FRYING YOUR CAULIFLOWER BALLS
I used a non-stick pan for this and added some oil to coat the surface.
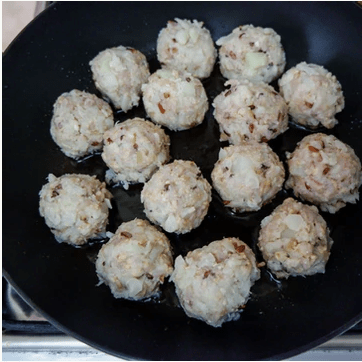
For this option, you'll need to rotate them as well to get the sides evenly golden brown.

HOMEMADE TERIYAKI SAUCE
I made some of my favourite teriyaki sauce for this recipe, but you can opt to use your favourite store-bought sauce. :)

COATING THE CAULIFLOWER BALLS IN TERIYAKI SAUCE
Optional: You can stir-fry some veggies of choice. I simple used bell peppers and onions.
After baking or pan-frying the balls, I then went on to glazing them. I stir-fried some onions and bell peppers too. Soo good and satisfying!


ENJOY YOUR CAULIFLOWER TERIYAKI BALLS!
I served mine with some steamed short grain rice for a really hearty and satisfying meal!
If you make this recipe, please tag me on my Facebook or Instagram and use the hashtag #thefoodietakesflight :)
Get the recipe below. Hope you enjoy these!
Check out my other cauliflower recipes here!
OTHER RECIPES USING TERIYAKI SAUCE
- Teriyaki Fried Rice
- Drizzled over Katsu Sushi Sandwiches and Rolls
- Baked Teriyaki Cauliflower Balls
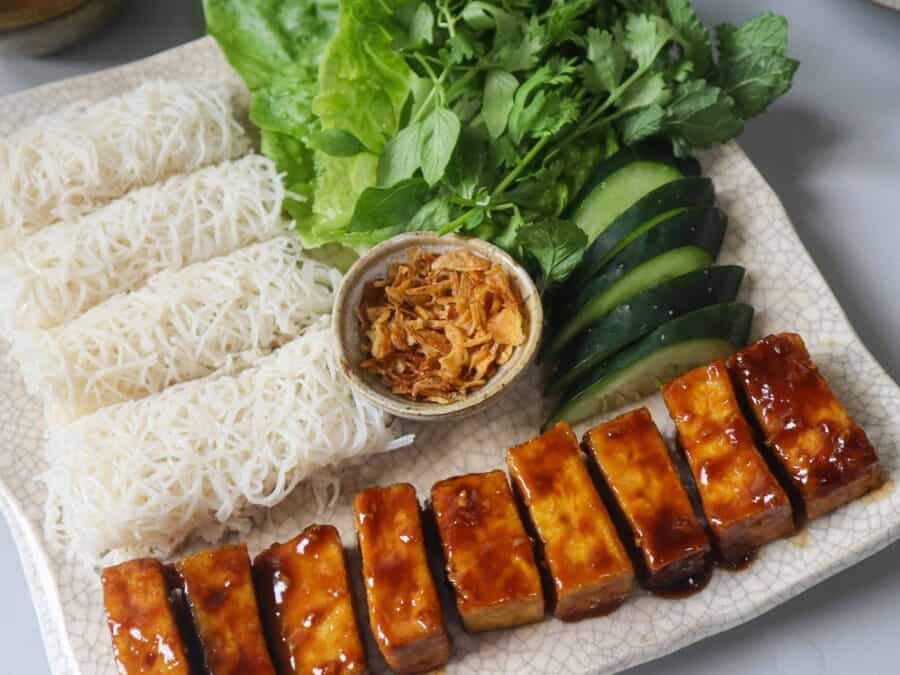
- Tofu "Chicken" Teriyaki
- Eggplant and Tofu Teriyaki
- Tofu Katsu (Enjoy with a generous amount of teriyaki sauce on top!)

Are you looking for more delicious, vegan recipes? Check out my latest Vegan Kitchen eBook, that has over 95 recipes (and a whole section for Asian recipes!) that are packed with flavour and made with simple and easily accessible ingredients! Also, I will be planting one tree for every download of my eBook through non-profit organisation One Tree Planted.?


Baked Teriyaki Cauliflower Balls (Vegan)
Ingredients
Cauliflower Balls
- 600 g raw cauliflower (1 medium head)
- 2 cups cooked brown rice feel free to sub with black or red rice
- 1 cup breadcrumbs or sub with more oats for gluten-free
- 1/2 cup instant oatmeal grits or processed oats* (see notes)
- 1/2 tbsp salt or more, to taste
- 1/2 cup teriyaki sauce or glaze, (homemade recipe here)
- Neutral oil for cooking
Batter Mixture* see notes
- 1/4 cup (40g) all purpose flour
- 1/4 cup + 2 tbsp soy milk or other plant milk like oat, almond
- 1 tsp neutral oil
- 2 tsp baking powder
Optional
- 1/2 red bell pepper chopped
- 1 red onion chopped
To Serve
- Steamed rice
Instructions
Cauliflower Steps
- Slice or break apart the cauliflower into florets. Boil some water into a pot. Once it boils, add in the cauliflower florets. Cover the pot. Leave to cook for 4-5 minutes until they’re still crisp on the outside but cooked through when stabbed with a fork. Do not overcook since the cauliflower can turn out mushy.You can also steam your cauliflower.
- Place in a strainer to drain out excess water. Leave to cool for a few minutes.
- Roughly chop into very small chunks. You can also opt to quickly process the cauliflower.
- Place the rice and oats in the food processor and quickly process until combined. Remove the rice and oats then transfer into a bowl. Add in the roughly chopped/processed cauliflower and salt. Add in the batter mixture or flax egg. Mix well. I find that the best way to mix everything is with my hands but you can also opt to use 2 spatulas.

- The mixture should hold up well together. If you think it's a bit too wet, feel free to add more processed oatmeal/flour or bread crumbs.

- If baking, heat the oven to 400F.
- Shape the mixture into balls or into your shape of choice!
- If baking, place the balls on a lined baking tray. I lined mine with some parchment paper. Make sure the balls don’t stick to one another.
- . Sprinkle or brush with a little oil before baking at 400F for 35-40 minutes or until golden brown and crisp, flipping halfway through cooking.
- If pan frying, head a non-stick pan with a little canola or neutral oil enough to cover the surface of the pan (see photo). Add in the balls and pan fry on each side for 3-4 minutes on medium heat until golden brown.
- Move around to create golden brown crusts on each side
- When cooked, set aside in a bowl if you're gonna use bell pepper and onions. If not, you can immediately add in the teriyaki sauce.
- Heat the same pan with a little bit of oil then sauté the chopped bell peppers and onions until cooked.
- Pour over around 1/2 cup of the teriyaki glaze over the cooked balls and mix well. Add in the sautéed bell peppers and onions, if using. You can also opt to use the teriyaki glaze as a dipping sauce!


Storage tips
- If you intend to cook this beforehand, you can store the balls and teriyaki glaze separately. Before eating them, you can simply heat the balls on a pan or in the oven. For the glaze, you can simply microwave it or heat it in a pan until smooth before mixing it with the balls. Note that the glaze will naturally harden and turn jelly-like when refrigerated due to the cornstarch.
Teriyaki Glaze
- In a bowl, mix together all the ingredients except the cornstarch and 2 tbsp water. Feel free to adjust the sugar according to desired sweetness.
- Heat a small saucepan, add in the sauce mix and leave to simmer. Once it boils, pour in the cornstarch slurry and cook until the sauce starts to thicken. Turn off heat.
- Note: You can store the glaze in an air-tight container and refrigerate it for up to 2 weeks. It will naturally thicken up when refrigerated but you can of course opt to heat it before use.
Notes
- Oats: you can quickly process whole rolled oats in a food processor until they are in small bits. Do not over process them since they will turn into a flour-like consistency.
- Batter mixture: Instead of the batter mix, feel free to make a flax 'egg' by mixing 1 tbsp flax seed meal with 3 tbsp water and leave for 10 minutes until thick for a GF option.
- Soy sauce: If using regular soy sauce, lessen to 2-3 tbsp since soy sauce can sometimes be a bit too salty. Feel free to adjust the measurements depending on your desired sweetness or saltiness.
NUTRITIONAL INFO


I made these for some guests last night (none of which are fellow vegans) and they all could not believe how amazing they were. They were so crisp on the outside but nice and chewy on the inside. Can’t wait to make them again!