
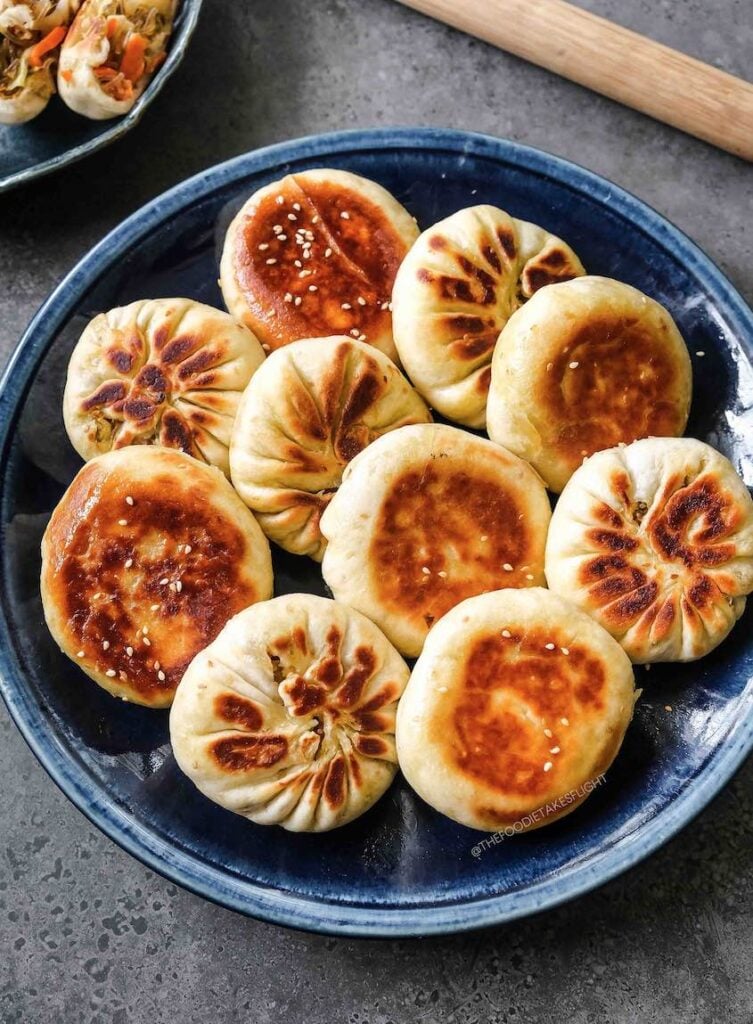
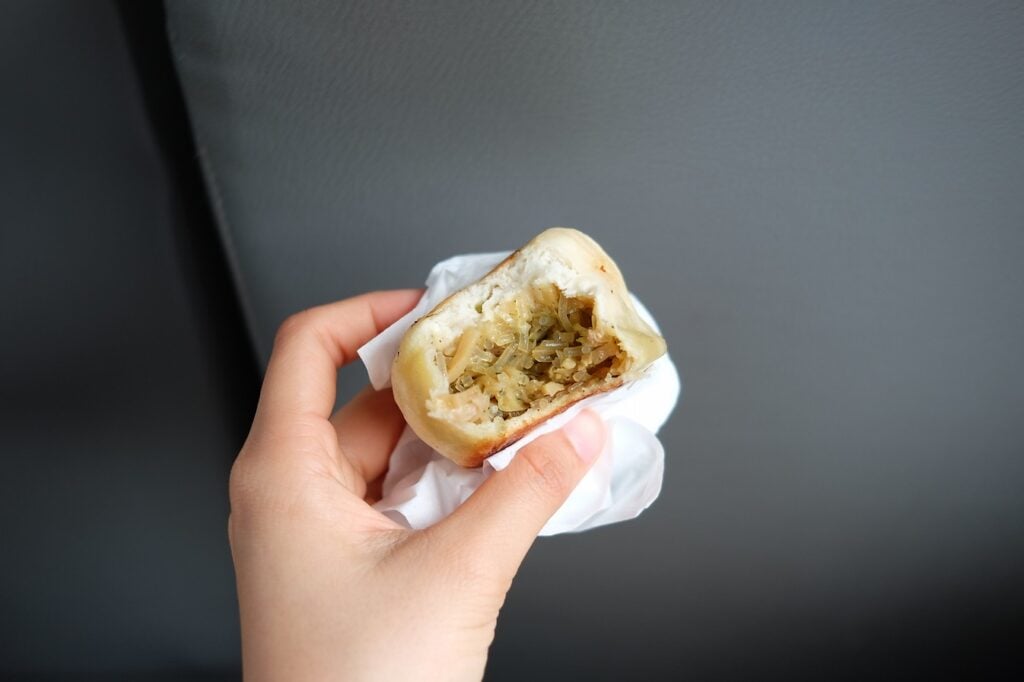
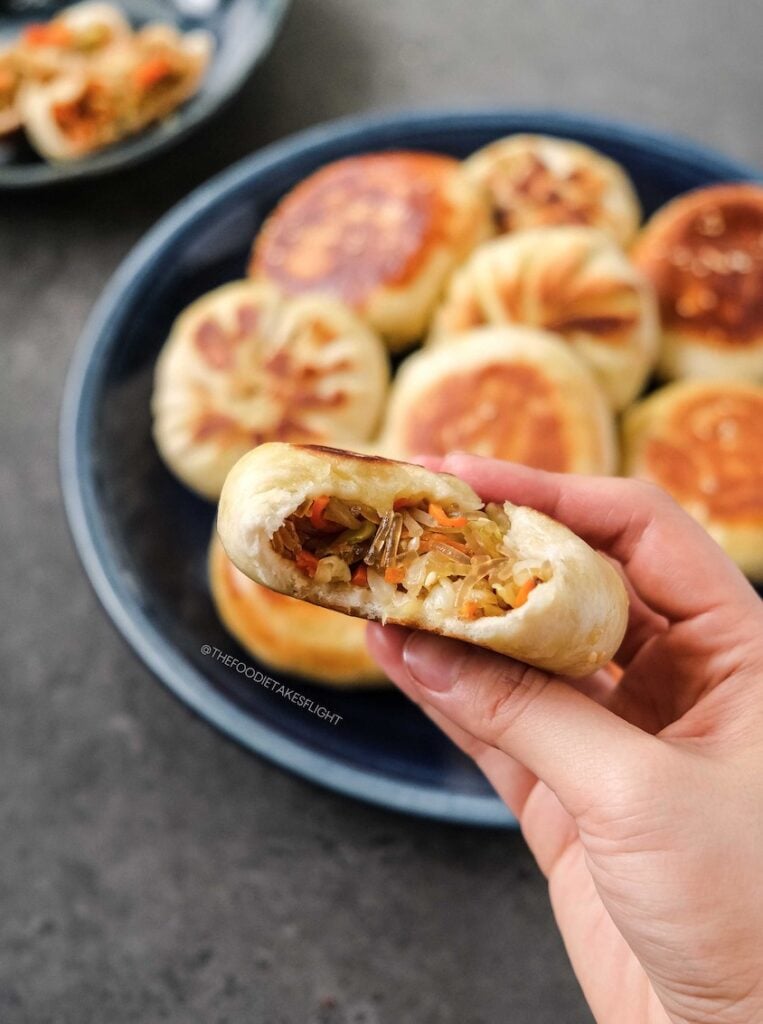
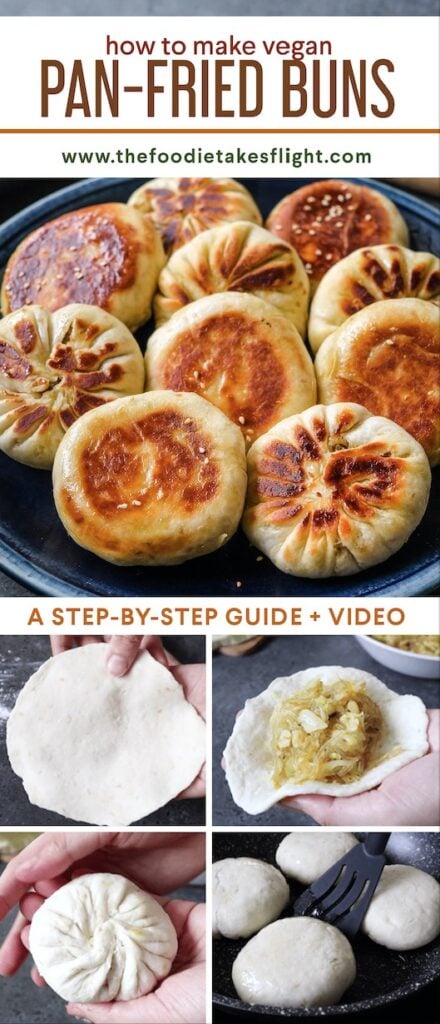
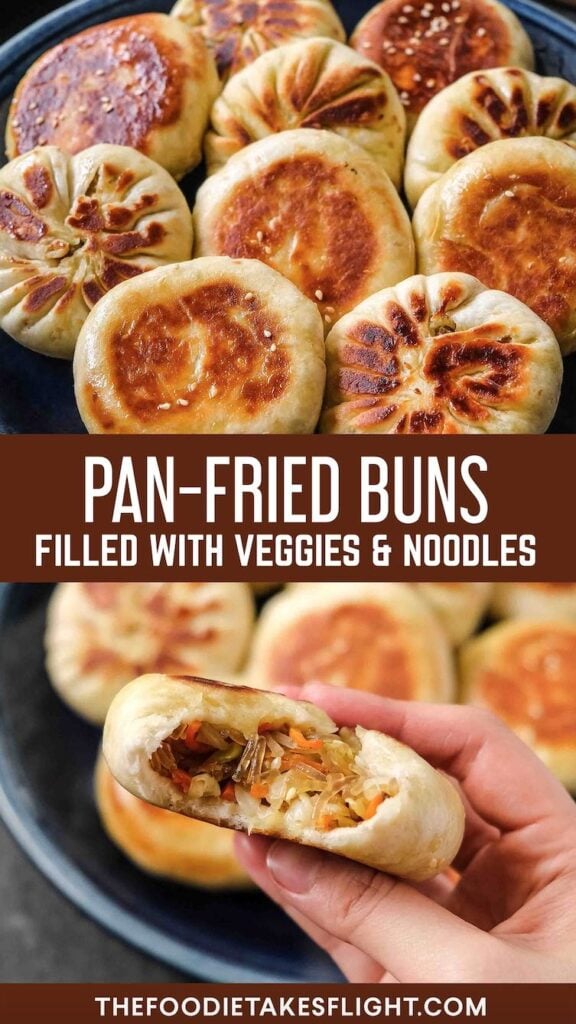
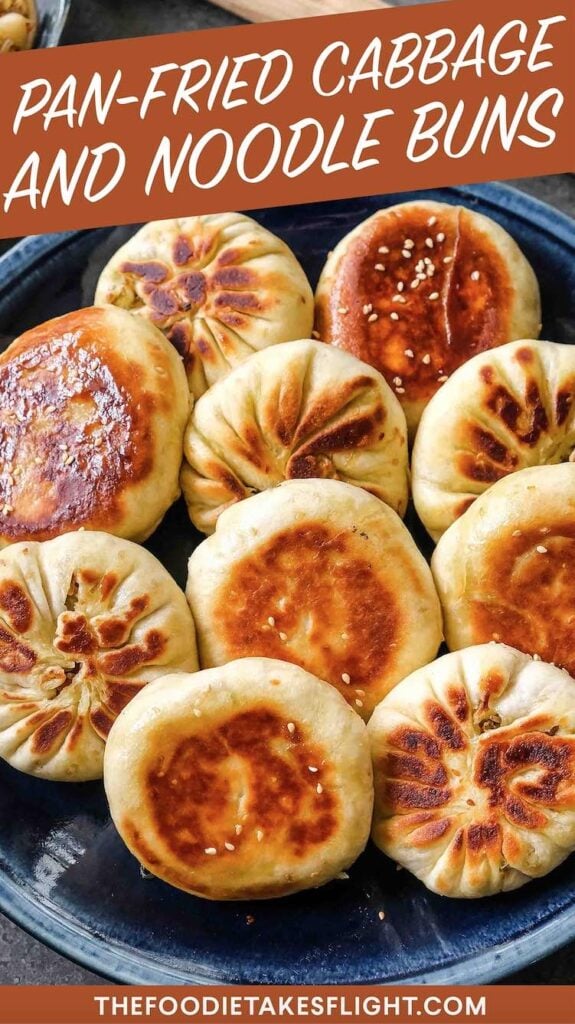
Pan-fried buns filled with a delicious filling of cabbage, vermicelli noodles, and other veggies.
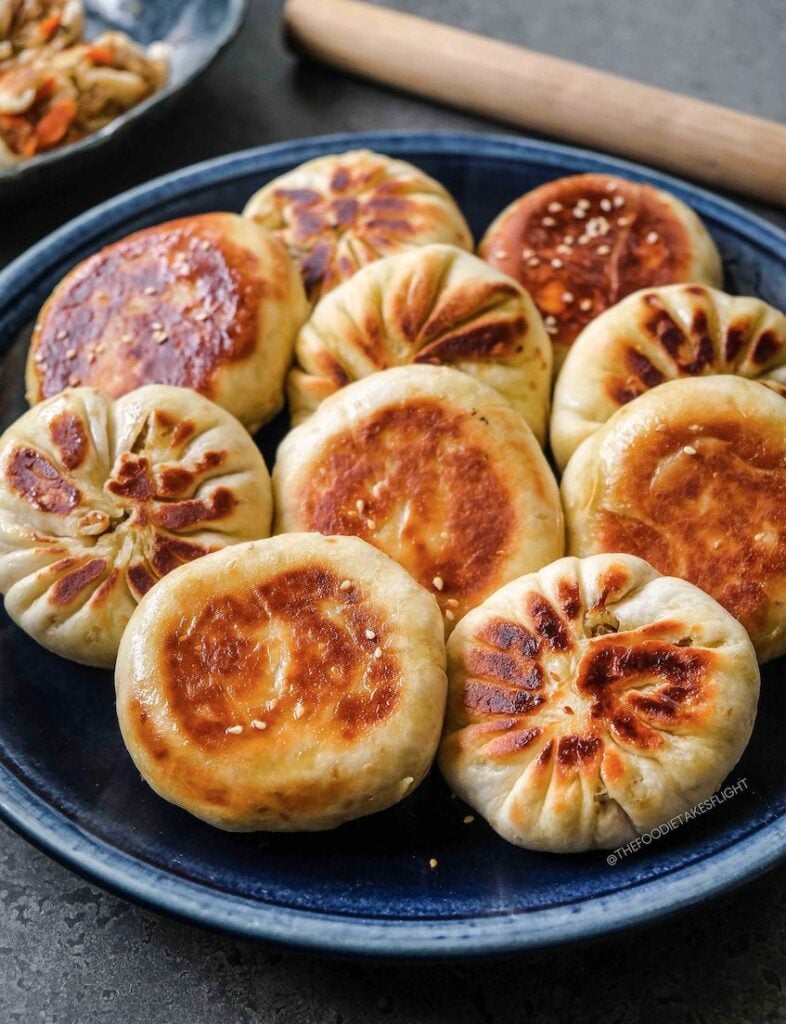
These pan-fried buns are all wrapped in some homemade dough before being pan-fried until golden brown and crisp. I then added some water and cooked these in in the steam to get that nice crisp exterior but chewy inside.
WHAT ARE PAN-FRIED BUNS?
Pan-fried buns or 生煎包 (Shēng jiān bāo), literally translate to raw pan-fried buns, because the raw buns are pan-fried on a pan until golden brown and crisp bottoms are achieved before water is added to cook it in a steam.
These are popular street food from Shanghai but can be found throughout China and now all over the world. The traditional Shēng jiān bāo you'll find are usually filled with meat, most commonly pork, but this vegan version contains a mix of noodles and vegetables.
BUNS IN TAIWAN
These are actually also inspired by my favourite buns from this food stall near the place I always stay at in Taipei.
They sell all vegetable buns and dumplings with different fillings like cabbage, bamboo shoots, and mustard greens. Al of them had noodles, which I really loved.

They'd cook them in big batches and I’d always get a few pieces after having breakfast at the small vegetarian eatery run by a family next door.
See how to make the buns in the video down below!
My favourites are either the bamboo shoot or the cabbage and noodle-filled ones (but the other flavours were really good too).
Anyway, I'm happy to finally share this recipe with you that's inspired by my travels.
Taiwan is one of my favourite places to visit and have appreciated it even more now that I'm vegan because there's so much amazing vegan food wherever you go.
This vegan recipe makes a big batch of 12 to 16 buns, so you can freeze them and reheat too for whenever you’re craving some buns!
Hope you enjoy this recipe!
You might enjoy these other Chinese dumpling, buns, and pie recipes:

Vegan Pan-Fried Buns (Sheng Jian Bao, 生煎包)
Ingredients
Dough
Dry Ingredients
- 3 cups all-purpose flour (375 g)
- 2 tsp instant dry yeast (opened pack can be stored in the freezer for future use)
- 2 tbsp sugar
- 1/2 tsp salt
- 1 tbsp roasted sesame seeds
Wet Ingredients
- 1 cup warm soy milk or other non-dairy milk
- 1 tbsp toasted sesame oil or neutral oil
Filling
- 1 tbsp neutral oil for cooking
- 6 cups raw shredded cabbage from 1/2 large head of cabbage
- 3.5 oz uncooked bundles of vermicelli noodles (100g total)
- 1 cup finely shredded or grated carrot (150g)
- 1/2 cup chopped scallions or chives (25g)
- 1 tbsp soy sauce
- 2 tsp salt or to taste
- 1 tbsp roasted sesame seeds
- 2 tbsp toasted sesame oil
Instructions
Preparing the Dough
- You can watch the video below for a step-by-step on how to make these buns.
- In a large bowl, mix together all dry ingredients. Create a well in the center and then pour in the warm milk and oil while mixing. Keep mixing until a dough is formed.

- Shape the dough into a ball, then place it in a bowl. Cover it with a damp towel and let it rest for at least 2 hours to let the dough rise.


Cooking the Filling
- Soak dry vermicelli noodles in boiling hot water for 7-8 minutes or until cooked. Drain excess water. Roughly chop the noodles into small ½ inch long pieces.
- Heat a pan. Add in 1 tbsp neutral oil. When the oil is hot, add in the chives, carrots, and cabbage. Cook over medium high heat for 4-5 minutes until the carrots are tender. Add in noodles. Pour in the soy sauce, salt, and oil.
- Mix well with a wooden spoon or spatula and cook for another 2-3 minutes over medium heat. Adjust seasoning based on desired taste.
- Transfer to a strainer to drain excess liquid from the vegetables then set aside to cool while you prepare the wrappers


Preparing the Wrappers
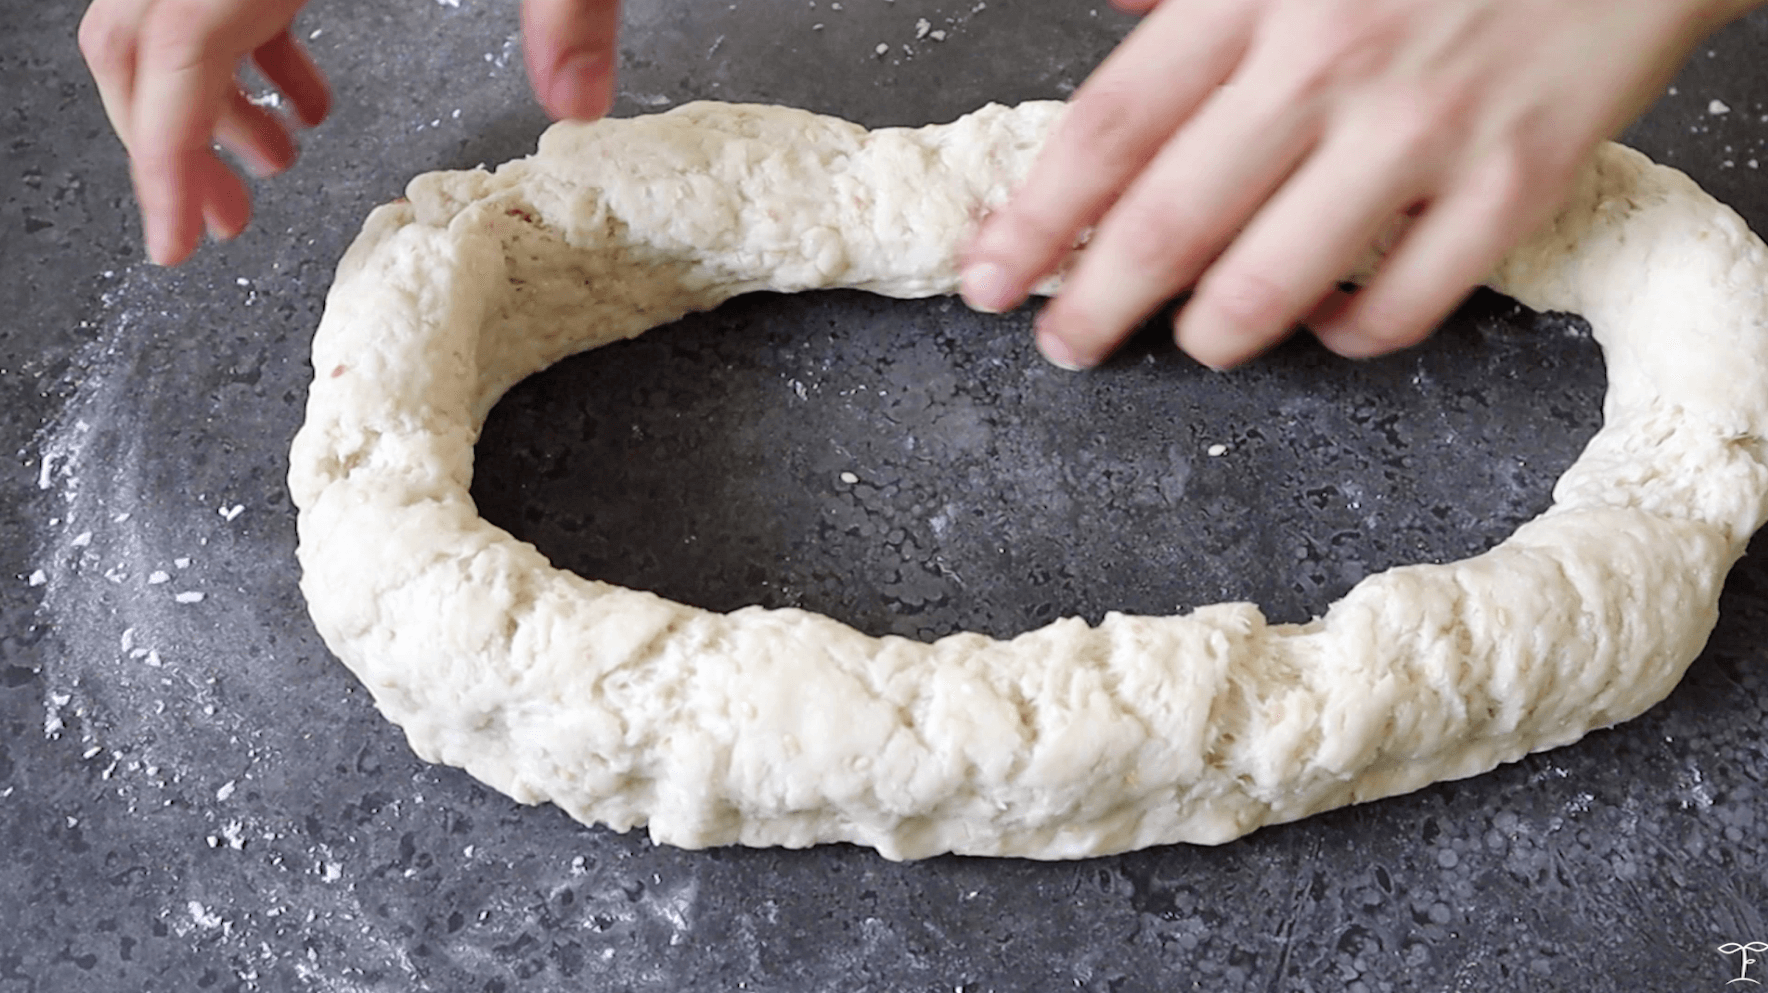
- Take the dough out of the bowl then stretch into a large ring. I do this by first punching a hold in the centre of the ball of dough.
- Slice the dough into 12 or 16 pieces. Each piece will be around 50g if you divide them into 12. Each ball of dough will be around 38g if you divide them into 16 pieces.

- Roll or shape each piece of dough into a ball.
- To make a wrapper, press down on the ball of dough and lightly flatten it over the surface. Sprinkle a little flour on top and lightly coat your rolling pin with some flour as well. While holding both ends of the rolling pin, roll out the dough by moving the pin forward and backward. Rotate the dough 90 degrees and repeat the movement. Continue to roll out the dough until you have a wrapper that’s around 3-4 inches in diameter (for 38g wrapper) and around 4-5 inches (for 50g wrapper). If you can’t make them into a perfectly round shape, that’s okay! These will be easy to handle and even stretch out when wrapping. Mine weren’t perfect but I was still able to properly fold the pies together. It really takes some time and practice to get a hang of making wrappers.
- Place the rolled out wrappers on a tray, spaced from one another or if stacking, be sure to brush each layer with some flour to prevent from sticking. Limit each stack to 4-5 wrappers (do not stack them too high), and cover with a DRY towel to prevent them from drying out. Roll out the rest of the dough.If leaving the wrappers to sit for more than 30 minutes, I recommend you space them out separately on a tray (do not stack).


Making the Buns
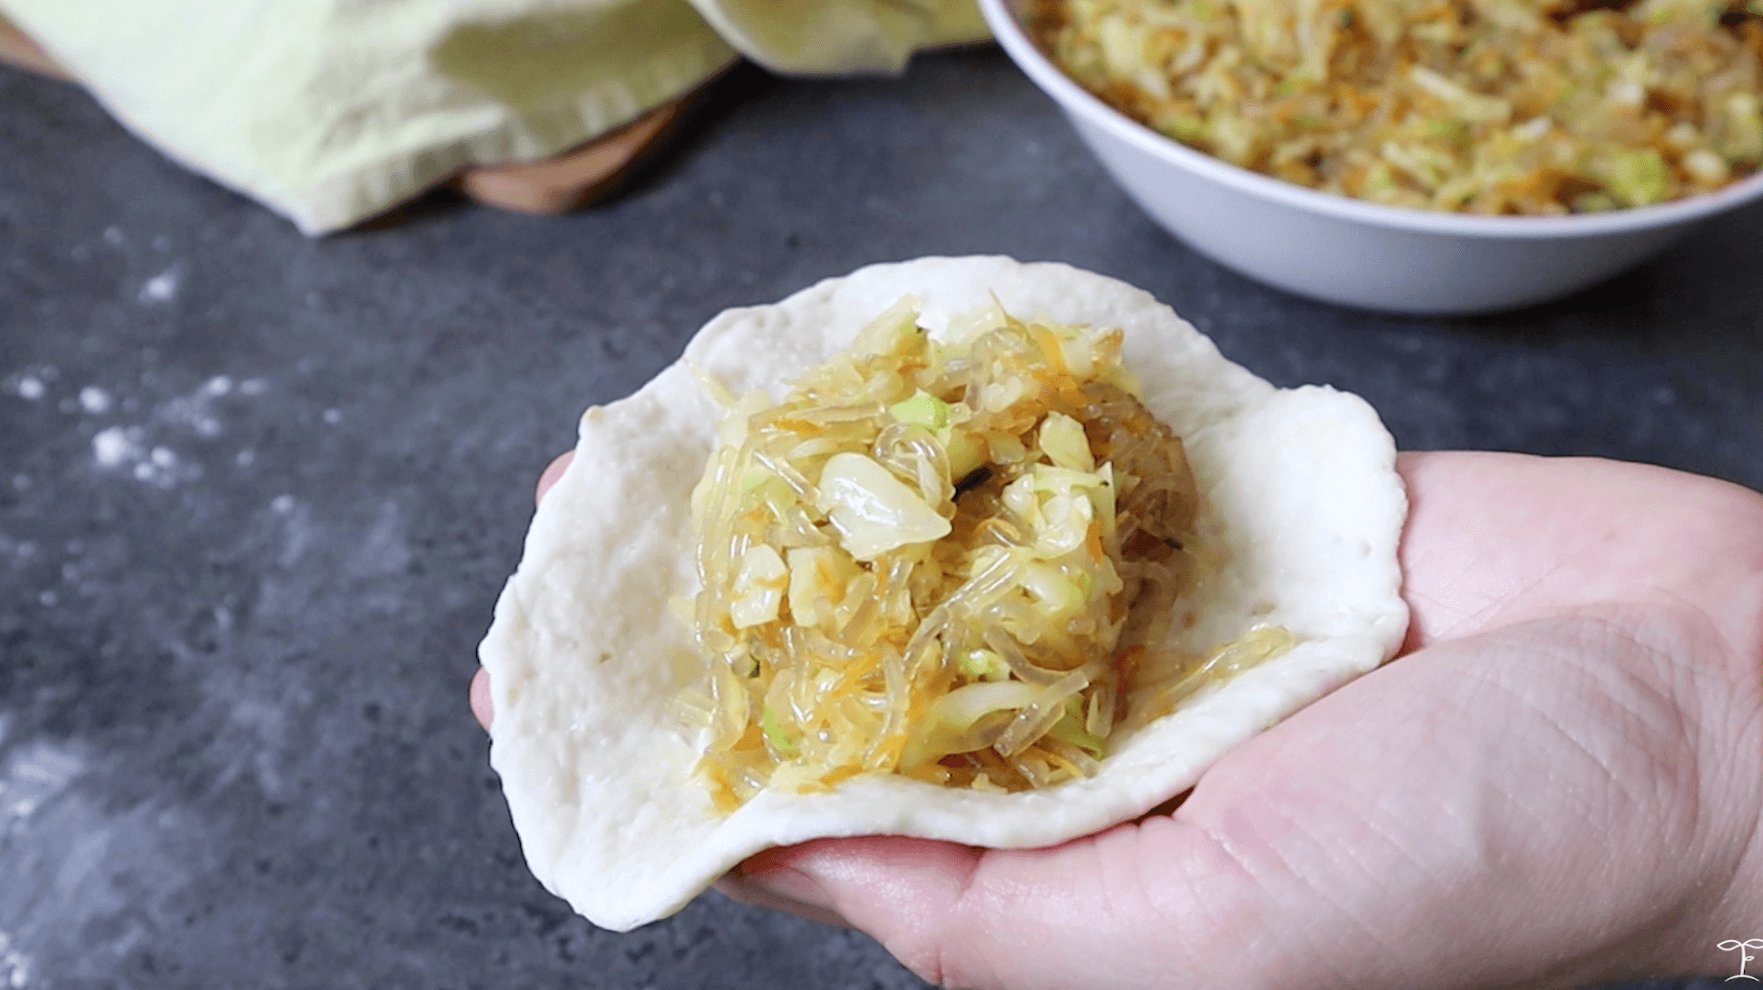
- Take a rolled out piece of wrapper and place around 2-3 tbsp of filling into the center. With one hand, crease the edges of the wrapper while you pinch down the creases with the other hand. You can refer to the video for a better idea.
- Once you have gone around the edges of the wrapper, pinch and then twist to seal the buns. You can watch the video below for a step-by-step.
- Place the bun on a flat surface and lightly press down the top.
- Afterwards, place back the bun on the tray and cover with a towel to prevent it from drying out.
- Repeat for the rest of the wrappers.

Cooking the Buns
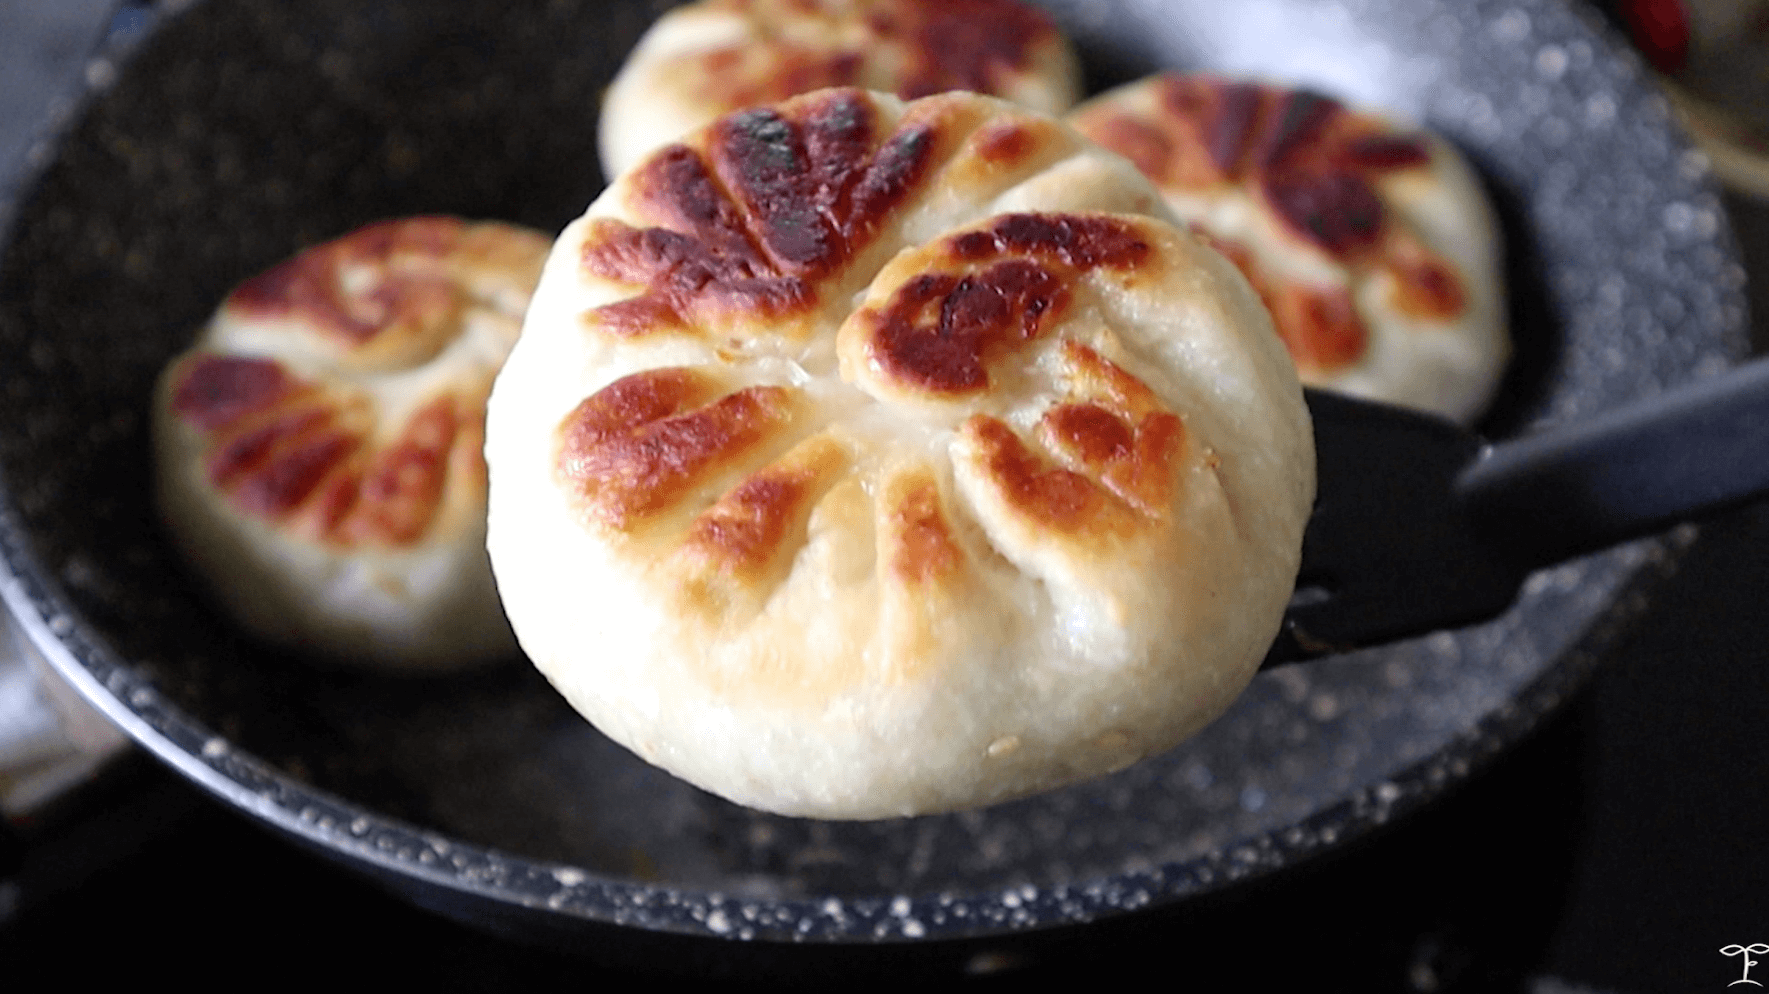
- Heat a pan with a lid, add in 1 tbsp of oil (for every 4 buns). When hot, add in the buns (creased-side first) and lightly press down. Leave to cook over medium heat for 4-5 minutes until it has a golden brown crust. Flip over and leave to cook until golden brown.*

- Note: the number of buns per batch will depend on the size of your pan!
- Prepare the lid of your pan. Using the lid as protection, carefully pour 4 tbsp of water (1 tbsp for each bun) into the pan and then immediately cover to prevent it from splashing due to the heat.
- Leave to cook in the steam, until the water has evaporated, around 5-6 minutes. Take out the buns and repeat this step for the remaining ones.
- Enjoy while hot! You can enjoy these with a dipping sauce if you’d like! I usually just like to mix together some soy sauce, sugar, chili sauce, and some sesame seeds.

Storing the Cooked Buns
- Place the cooked buns in an air-tight container and refrigerate for up to 5 days. To reheat, you can pan fry them again with a splash of water or oven-toast in low heat. You can also microwave the buns in a bowl with a splash of water.
Freezing the Buns
- You can freeze the cooked buns too and just reheat in the pan, oven toaster, or steam them before enjoying! No need to thaw.
- To freeze, simply place the buns on a tray. Make sure they're spaced apart so they do not stick to one another. Leave the tray of buns to freeze for 5 to 6 hours or until hard. This way they won't stick to each other when stored later on. Afterwards, you can transfer the buns to a plastic or silicon bag and just reheat a piece at a time when you'd like.
WATCH Video
Notes
- Place the cooked buns in an air-tight container and refrigerate for up to 5 days. To reheat, you can pan fry them again with a splash of water or oven-toast in low heat. You can also microwave the buns in a bowl with a splash of water.
- You can freeze the buns too and just reheat in the oven toaster or steam them before enjoying! No need to thaw.
NUTRITIONAL INFO
Pin these images on Pinterest:
Hi! Can we make the dough ahead of time or will it spoil?
Hi Seema, you can make the dough the day before and just refrigerate it. Then leave it at room temperature before working with the dough. It might be a lot stickier from the moisture though so you may need to flour your work surface more. Hope this helps!
is there a substitute I can use for the instant yeast?
Hi haven’t tried it personally but some have used baking powder instead ◡̈
I’m confused. The dog recipe calls for soy milk, but in the directions, it says to make a well in the dry ingredients and add water. Can I use either?
Hi Julia! Apologies for the mix-up. It’s warm milk and oil that’ll be mixed into the dry mix 🙂
This recipe is amazing!! I was a little nervous because I’ve never made my own dough before but it went seamlessly! They were a huge hit with my family too. I am definitely going to make these all the time!!
Thank you Tori! Hope you all enjoyed these!! ◡̈
i made these yesterday and i’ll be honest – i was a little disappointed in the filling, it just didn’t taste like much. maybe it’s because my cabbage was a bit old or something. also the amount of filling was SO disproportionate to the dough, i have at least half left.
the dough was really great to works with though! (although my kitchen was so hot the wrappers were rising as they were waiting to be filled so i had to roll them out again. but that’s a very specific problem)
Amazing! made it last week and for sure will make it again very soon. I had none left to freeze, they were so good. Instructions are very easy to follow. Thx
Ahh thank you so much Janko! Really glad you liked it ◡̈